I had so much fun creating our very first Christmas card this year and wanted to share some of the process steps with you! If you follow me on instagram - I shared a lot of it on my story as well but wanted to properly document here also. I decided to go all out with the art, design, and additional elements of these cards.
Here is everything that was included:
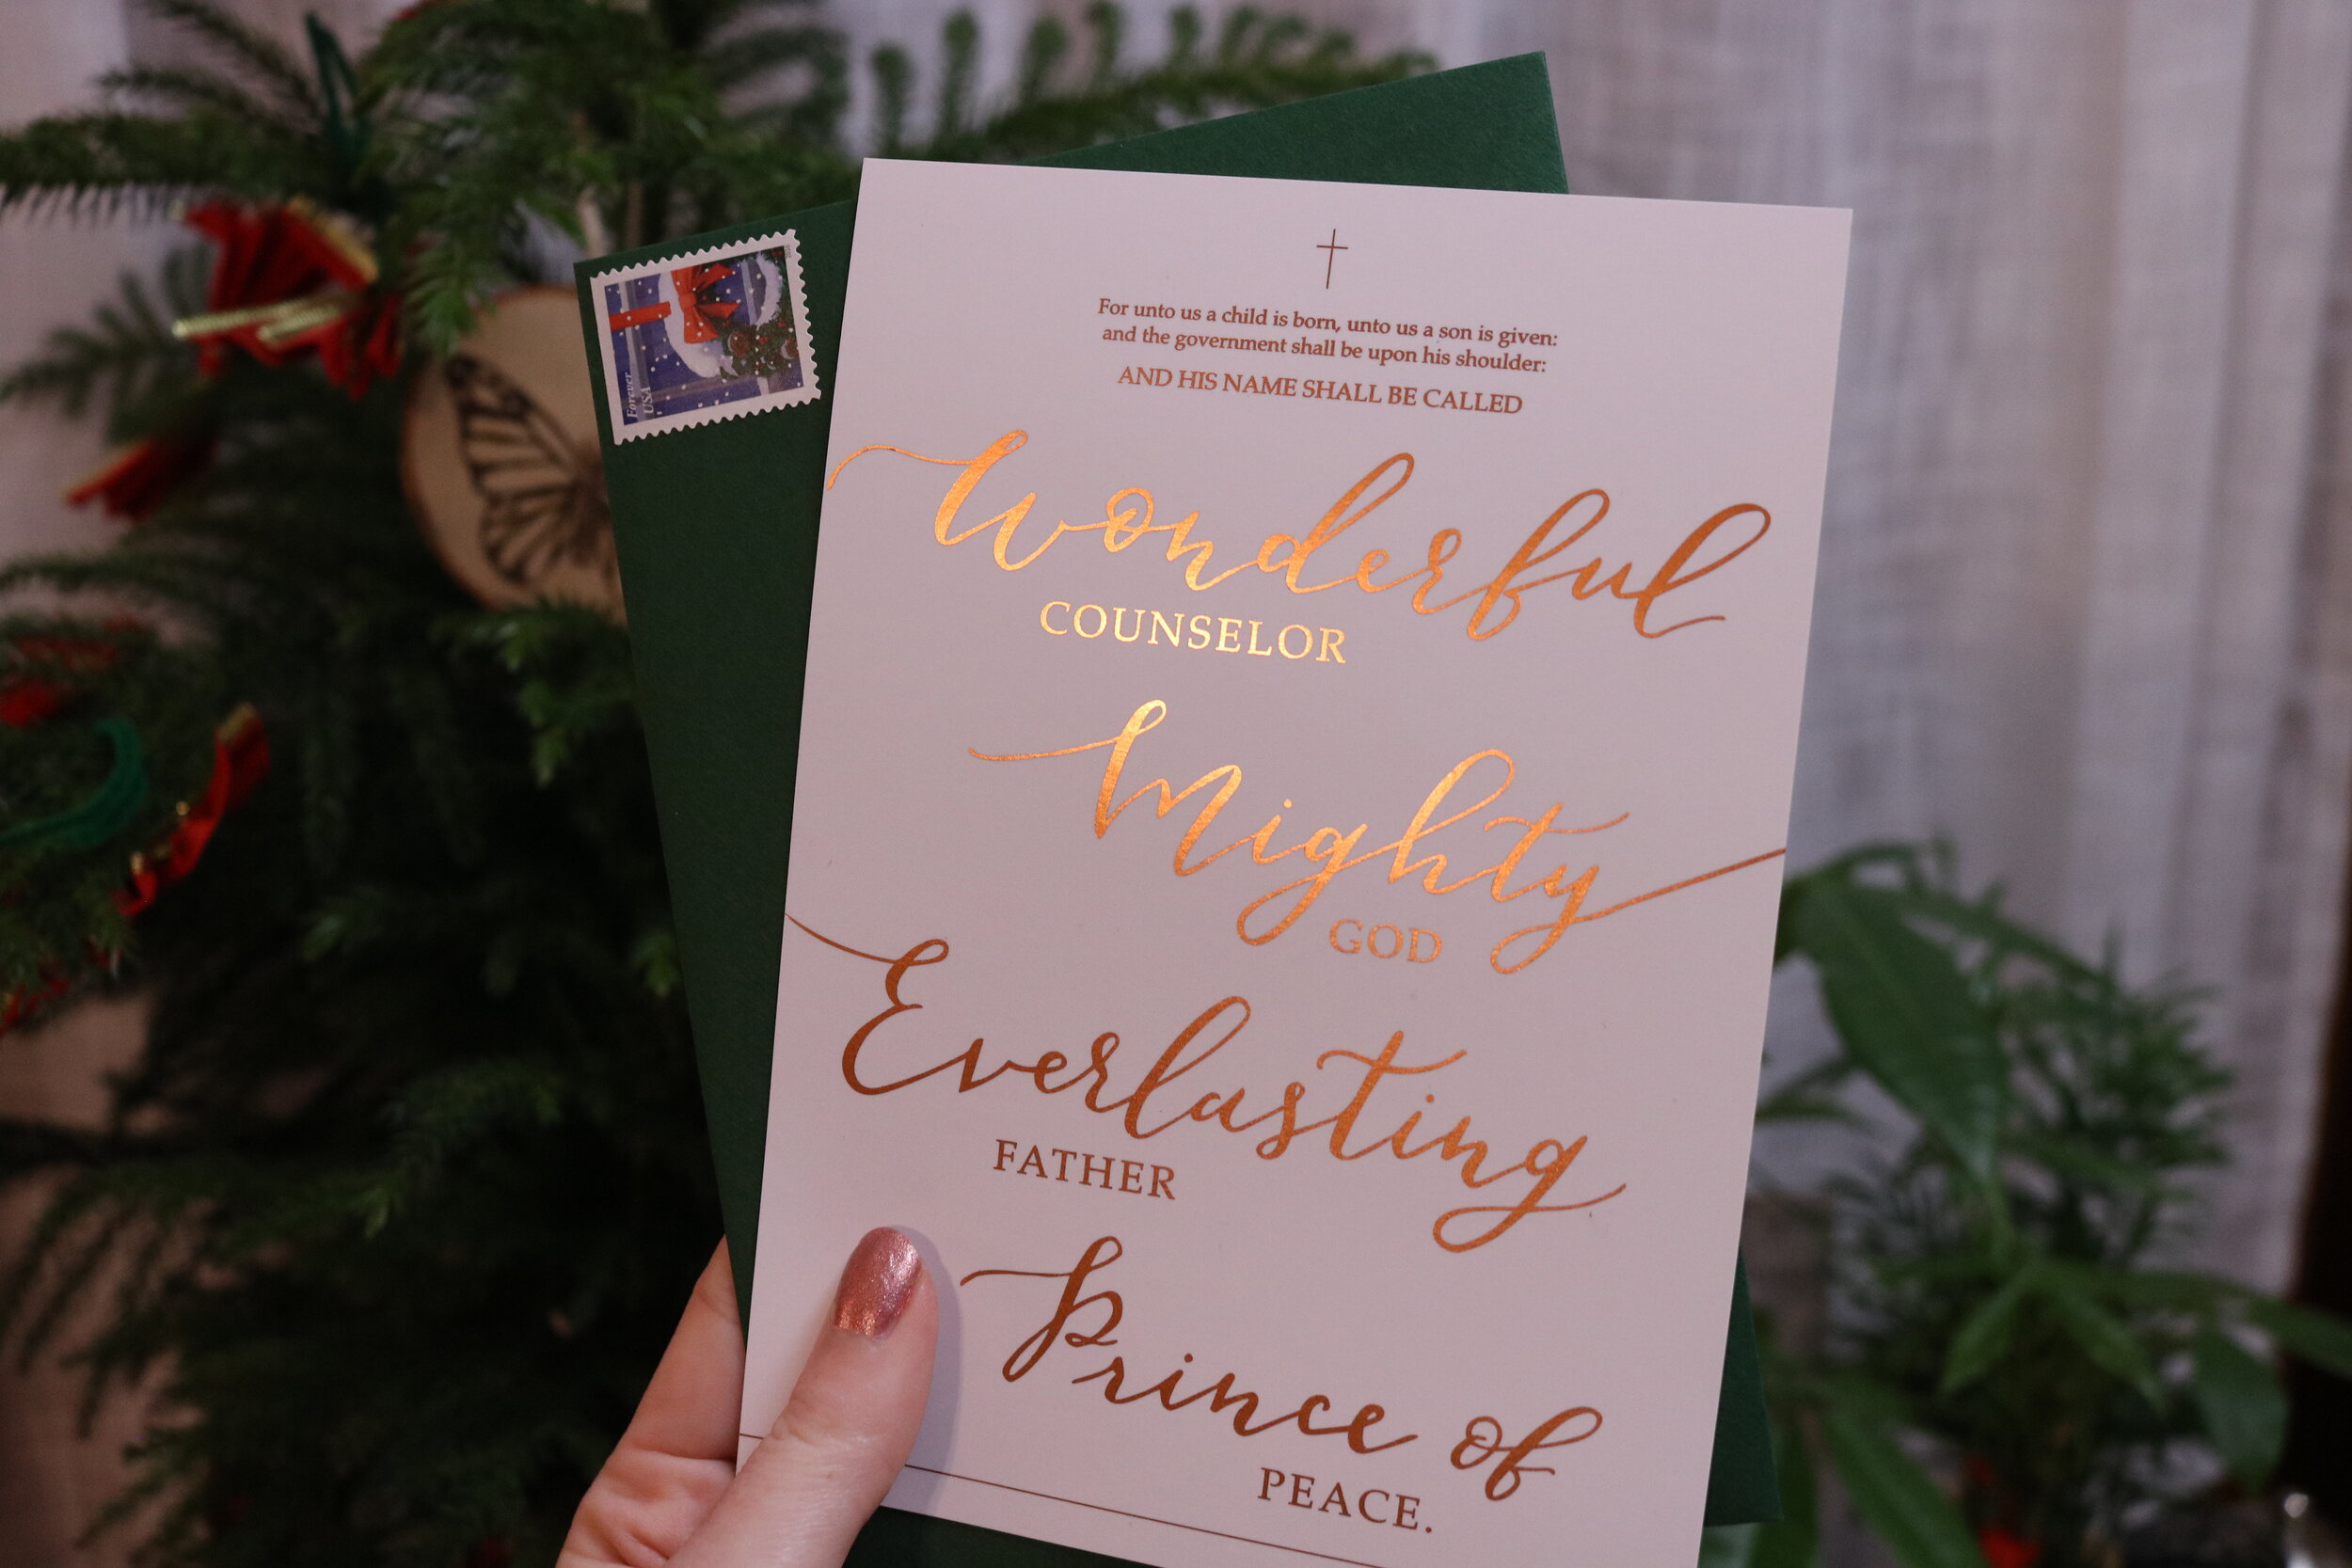
Card side 1: Calligraphy of the verse Isaiah 9:6 (one of my favorite Christmas scriptures) + printed with digital foil
Card side 2: A watercolor USA map + line drawings of 8 places we visited + 6 photos from our trip + lettering & type
Envelopes: Calligraphy addressing, envelope liner lettering of “O Holy Night” lyrics, and “Noel” and “Merry Christmas” wax seals
Stamps: Christmas- themed, ‘O Beautiful’, and/or National Parks
The letter: Jordan’s contribution — Read it here — I added a little bit of calligraphy to that as well
card: foil lettering
Card: usa trip

envelopes

Stamps

There were so many steps in this process (and I kept thinking of things to add along the way). Here’s the process broken down by type of artistic endeavor:
Calligraphy & Lettering
Watercolor painting
Scanning and Digitizing
Digital art (on my iPad)
Layout Design (I used all 3 Adobe programs: Illustrator, Photoshop, and InDesign)
Printing
Assembly & Mailing
And here is a more detailed look at each piece that was created:
Card side 1: gold lettering
First step

Scan of original calligraphy
Write the Isaiah 9:6 bible verse in dip pen calligraphy (multiple times…)
Scan
Vectorize calligraphy in Adobe Illustrator
Add in type
Design & re-design layout
Create cross at the top
Send vector art file to printer (outsourced)
Receive foil printed cards!
the final product
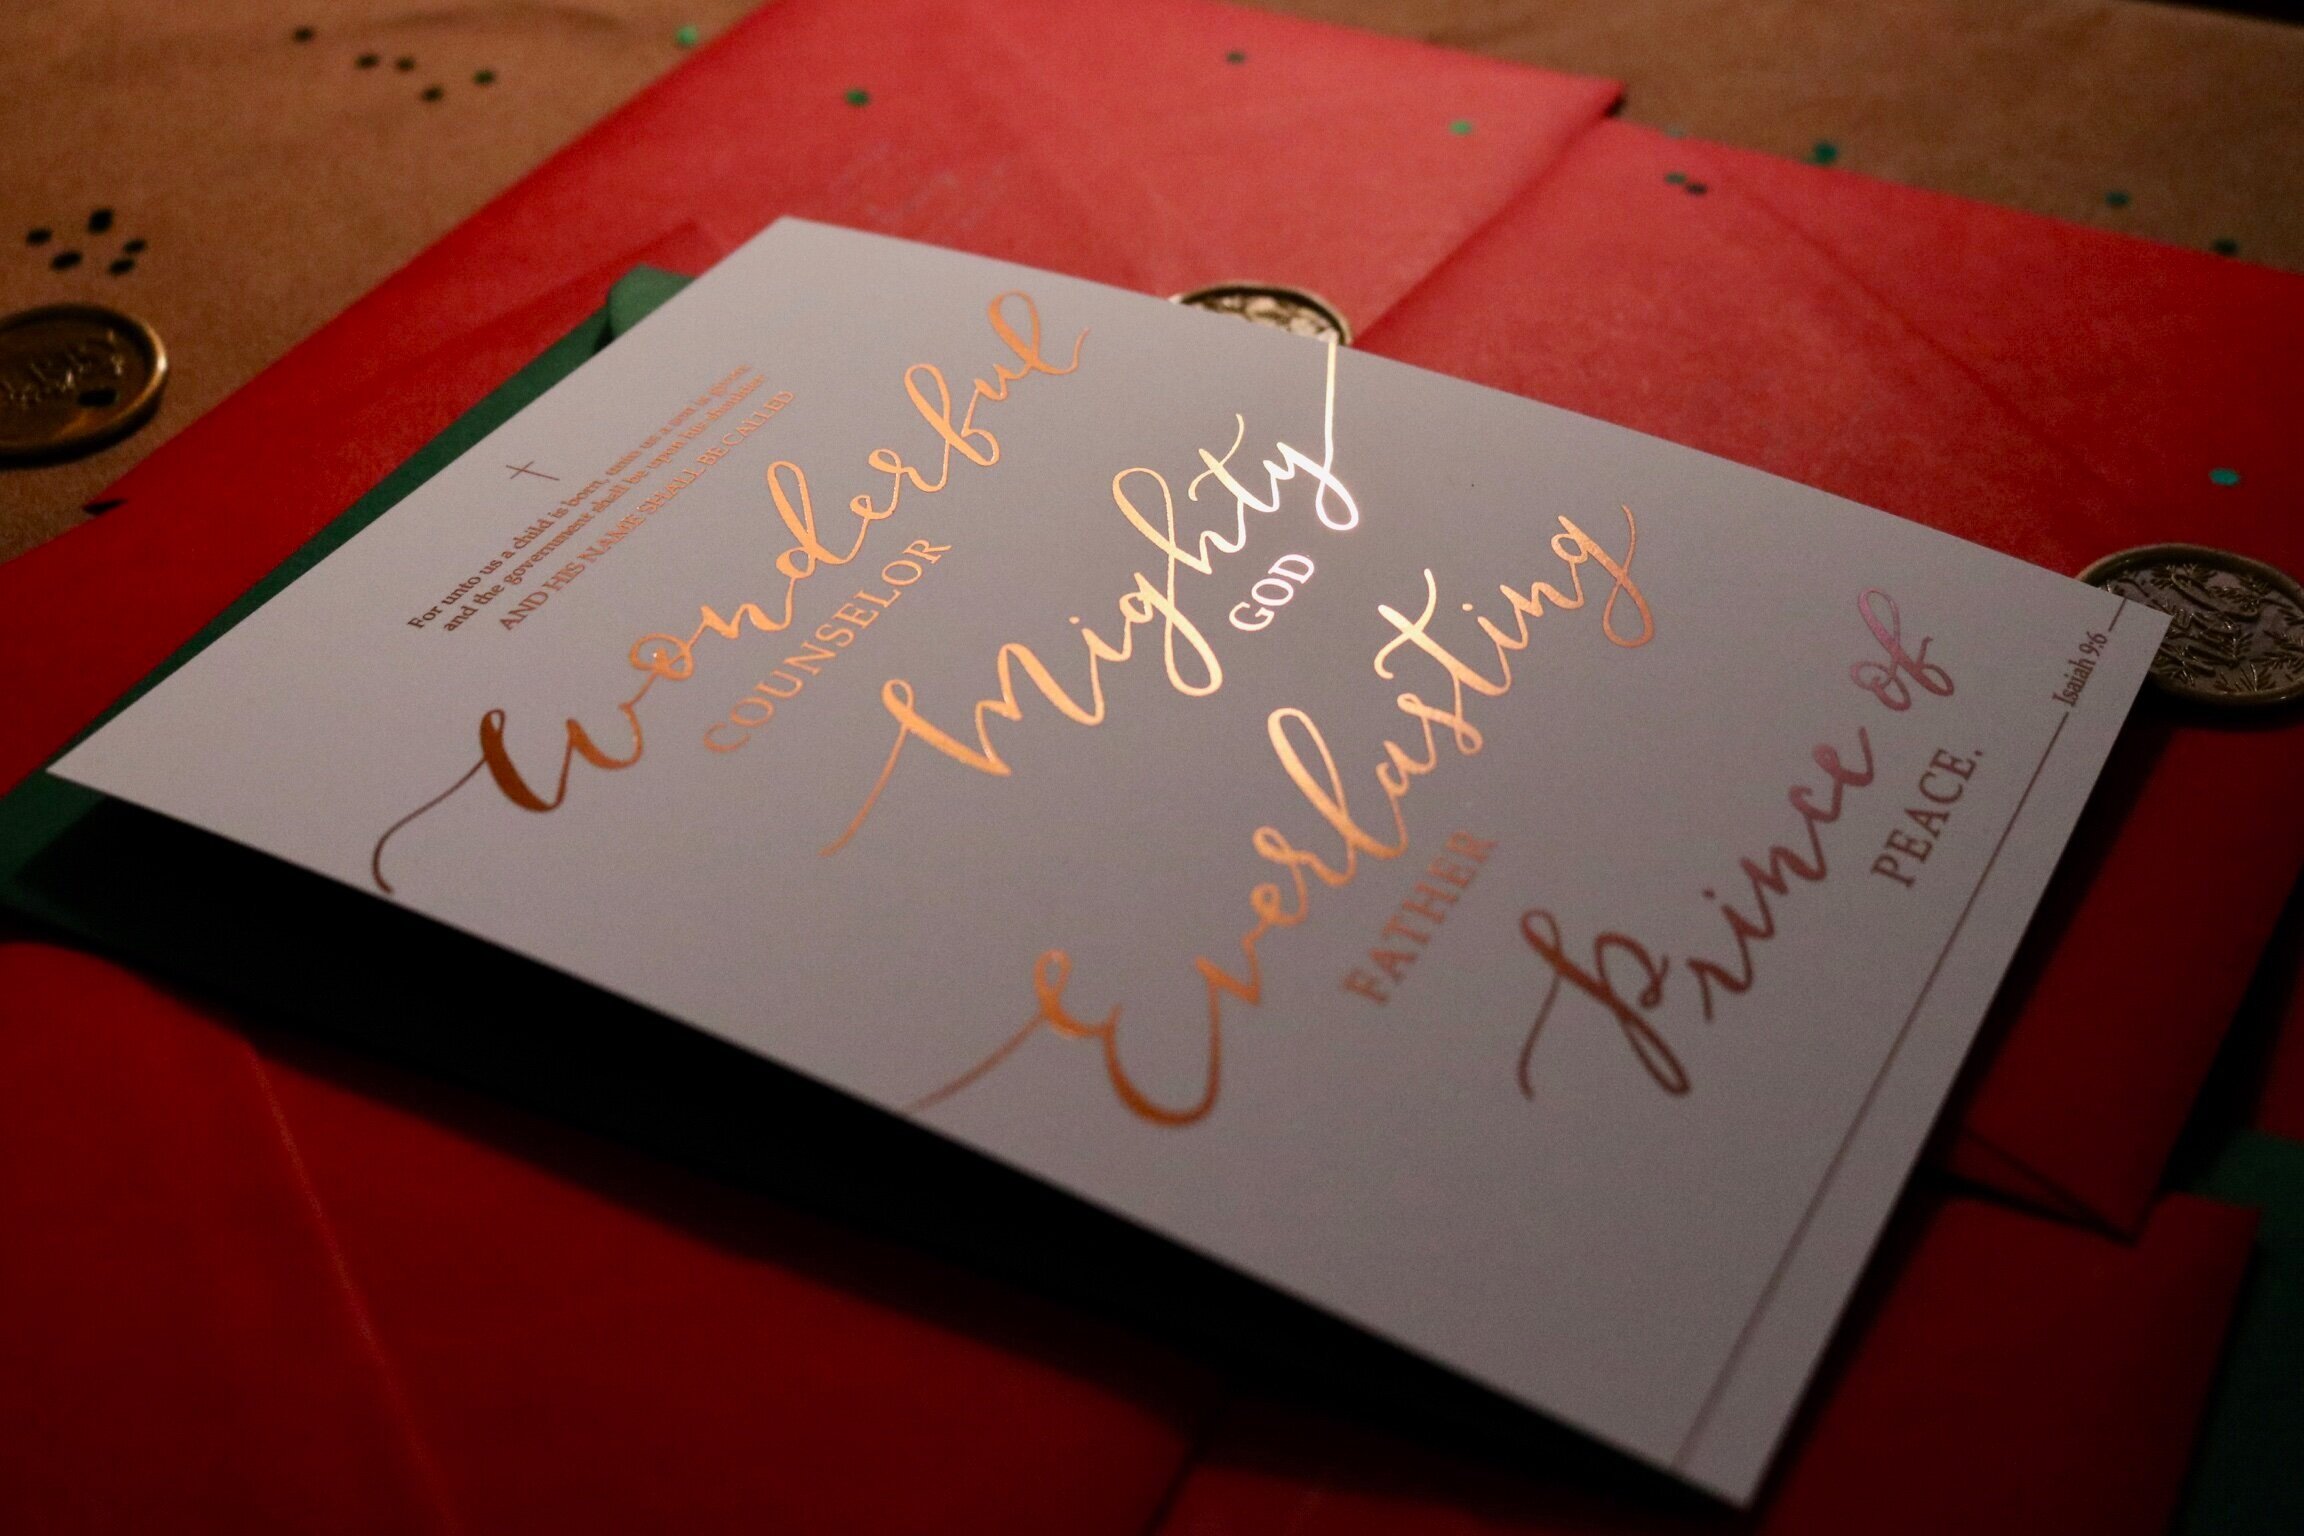
Digital foil printed on 130 lb EuroArt Matte paper
Card side 2: the great american tour
The Map:
Map out all of the locations from our trip using my online mapping tool
Draw the outline of the country and path of our trip (connecting the dots) in pencil
Paint the map (watercolor on paper)
Scan & digitize
Create the line drawings of locations on my iPad
Add drawings to the map

Original export

Final piece
The Lettering
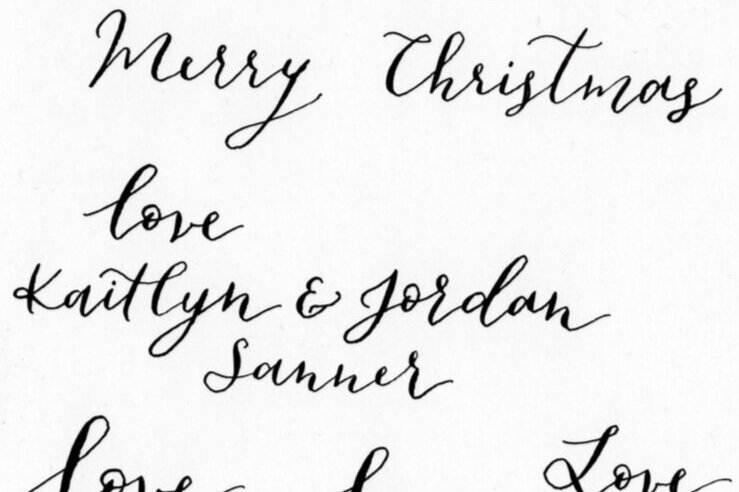
Calligraph “Merry Christmas”
Brush letter “from sea to shining sea”
Calligraph “love Kaitlyn & Jordan”
Scan and digitize

Designing
Create file in InDesign
Choose 6 photos from our trip to add
Add map file & lettering from photoshop
Play around with layout ideas
Add type for the location of each photo
Send file to printer

So many to choose for! I tried to get a diversity of landscapes.

Envelope liner lettering
Watercolor brush lettering (a different technique than calligraphy) - for the ‘O Holy Night’ lyrics for the envelope liners
Place in the envelope liner template
Digitize the lettering in Photoshop (including making the lines straight since I messed that up a little…) Next time I’ll use my laser level or pencil in lines.
Print 50 copies
Assemble: See next section (below)

Brush lettering the lyrics of “O Holy Night” with red watercolor paint on paper.

The black background helps me to see & clean up the lettering. The turquoise lines are rulers to help me align everything.
assembling & addressing the Envelopes
Once I got the envelope liners from the printer, it was time to assemble the envelopes.
1. Envelope liners

Step #1. Get printed #2. Cut them #3. Adhere to envelope #4. Fold envelopes #5. Fill them!
2. return address stamp

I almost forgot this part (whoops) I ordered this stamp from Zazzle + a white ink pad from Michaels
3. Calligraphy addressing
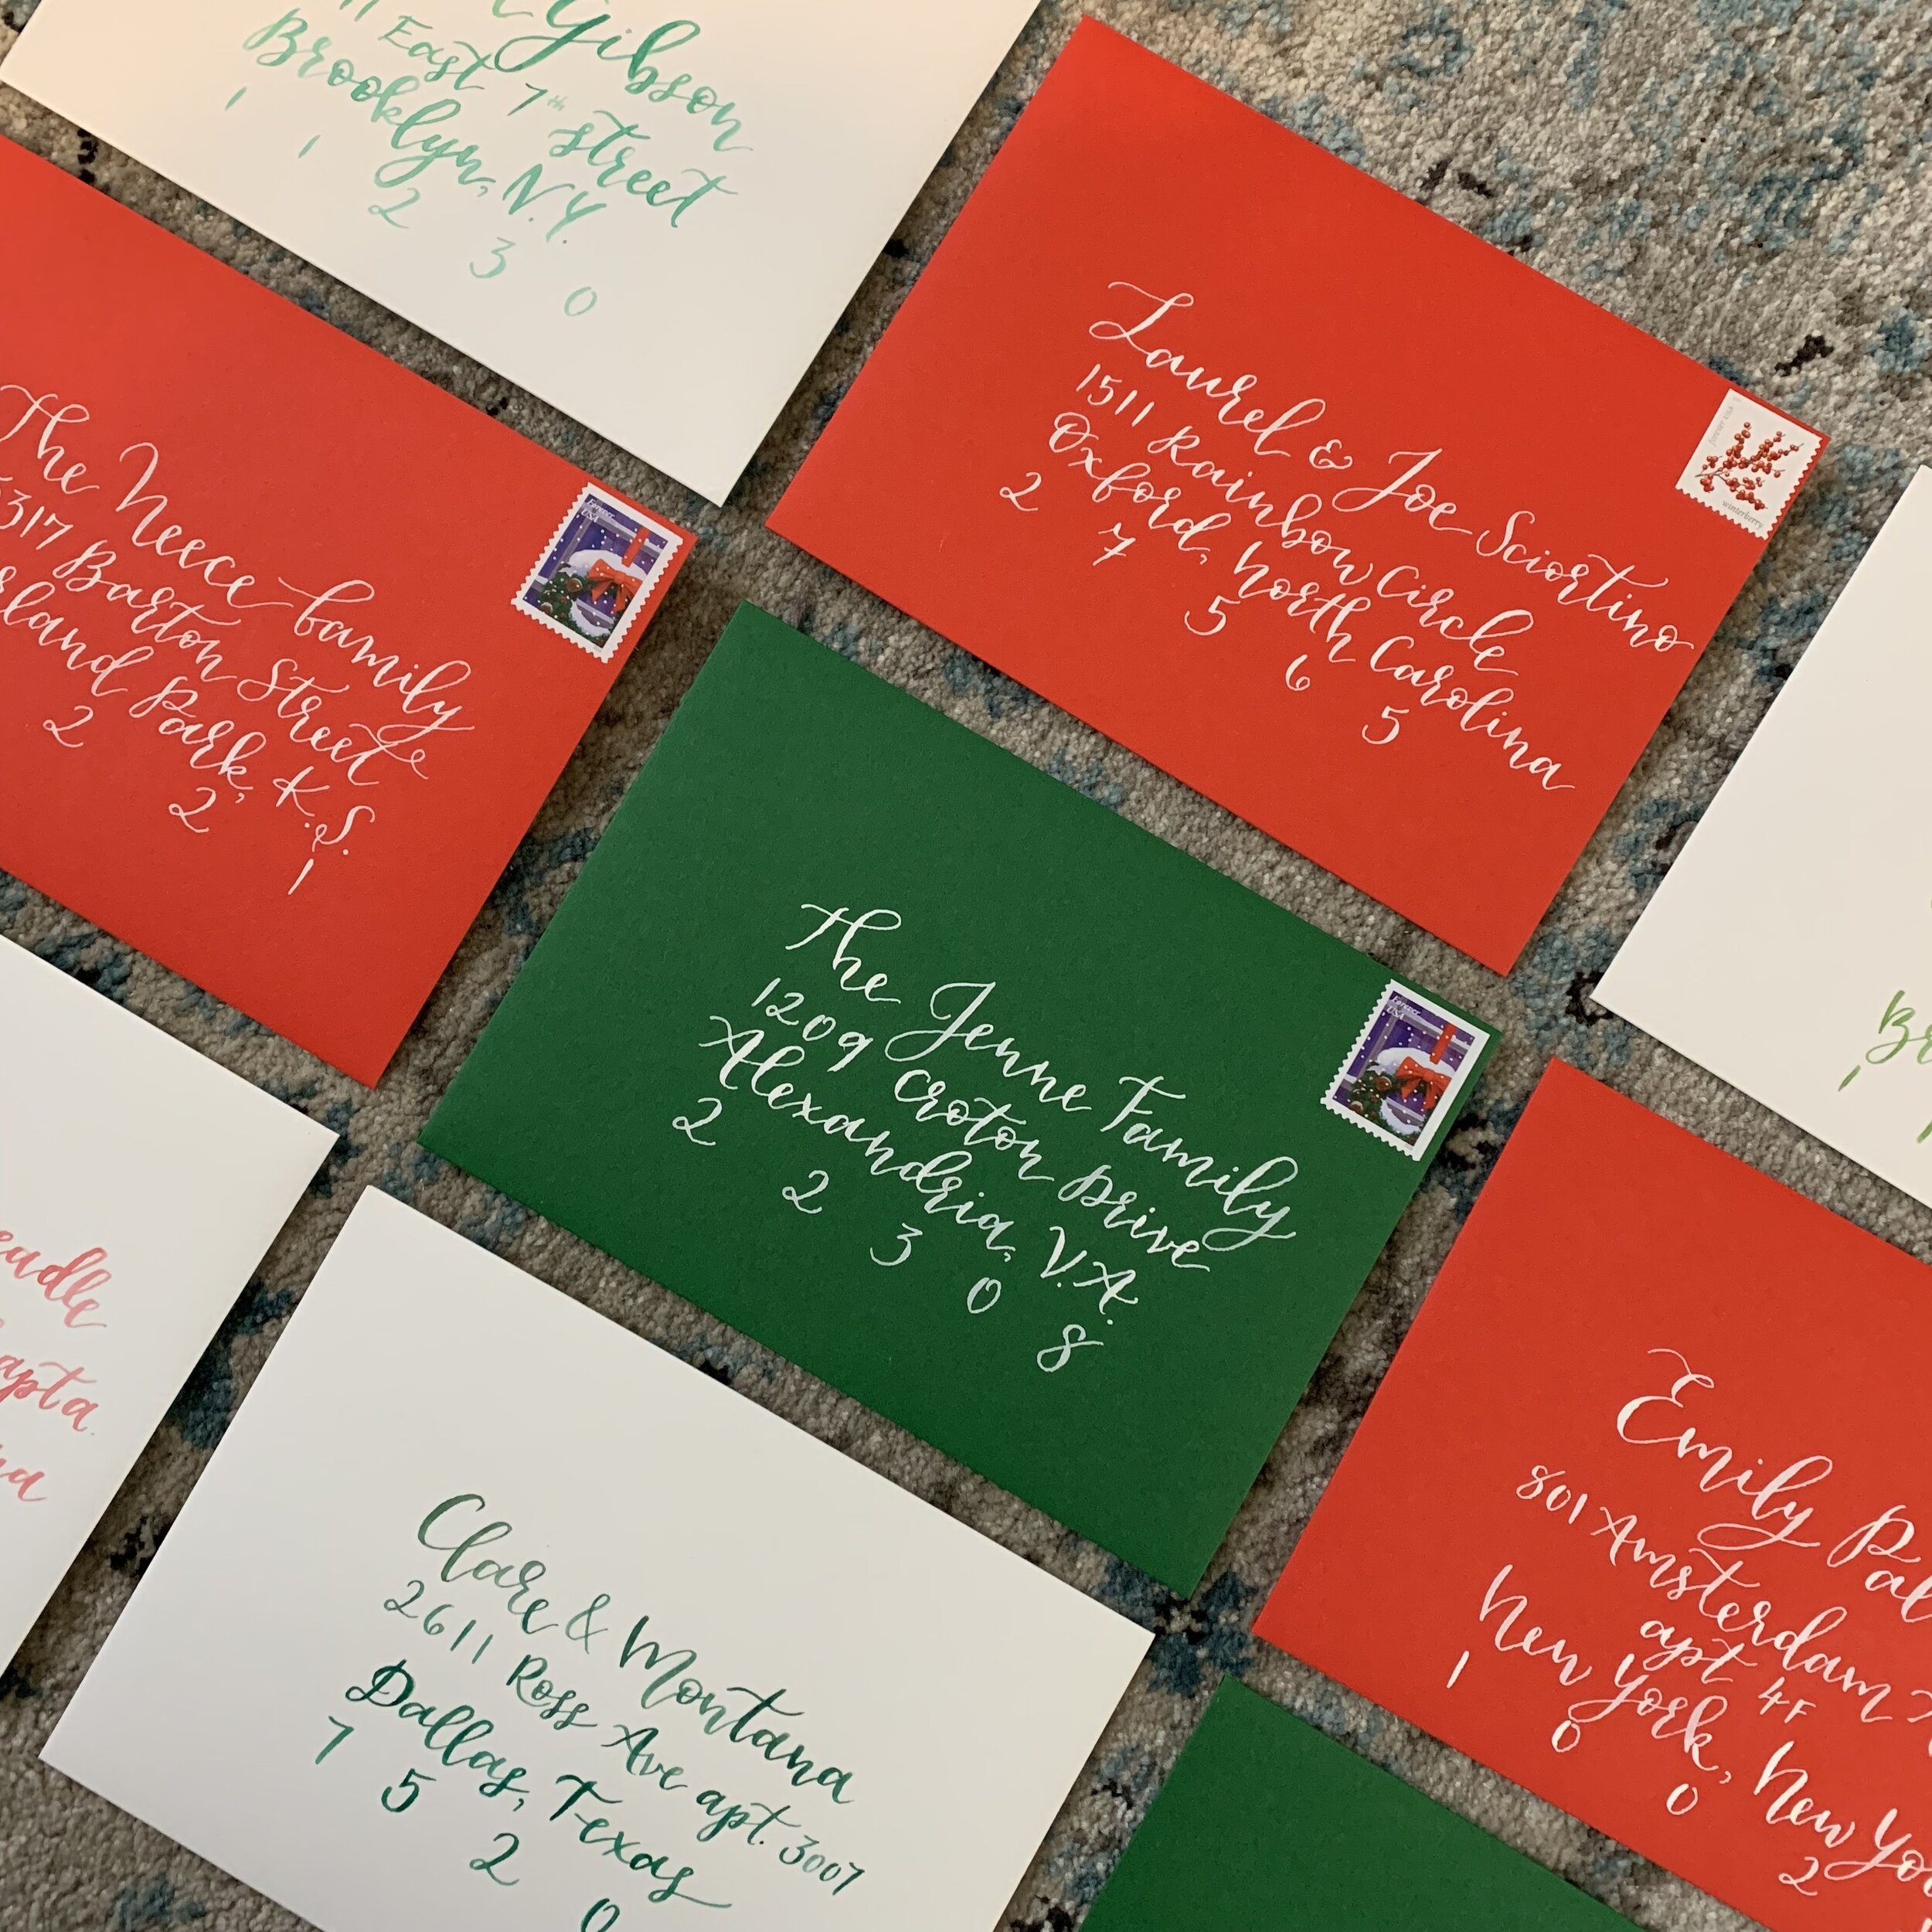
I ordered green, red, and white envelopes and calligraphed all of the addresses (a few envelopes per day for a week or so)
finishing touches
Getting ready to mail them all out: this became an all day affair - but so fun! Stacks of letters, envelopes, and stamps to adhere.
1. folding the letters
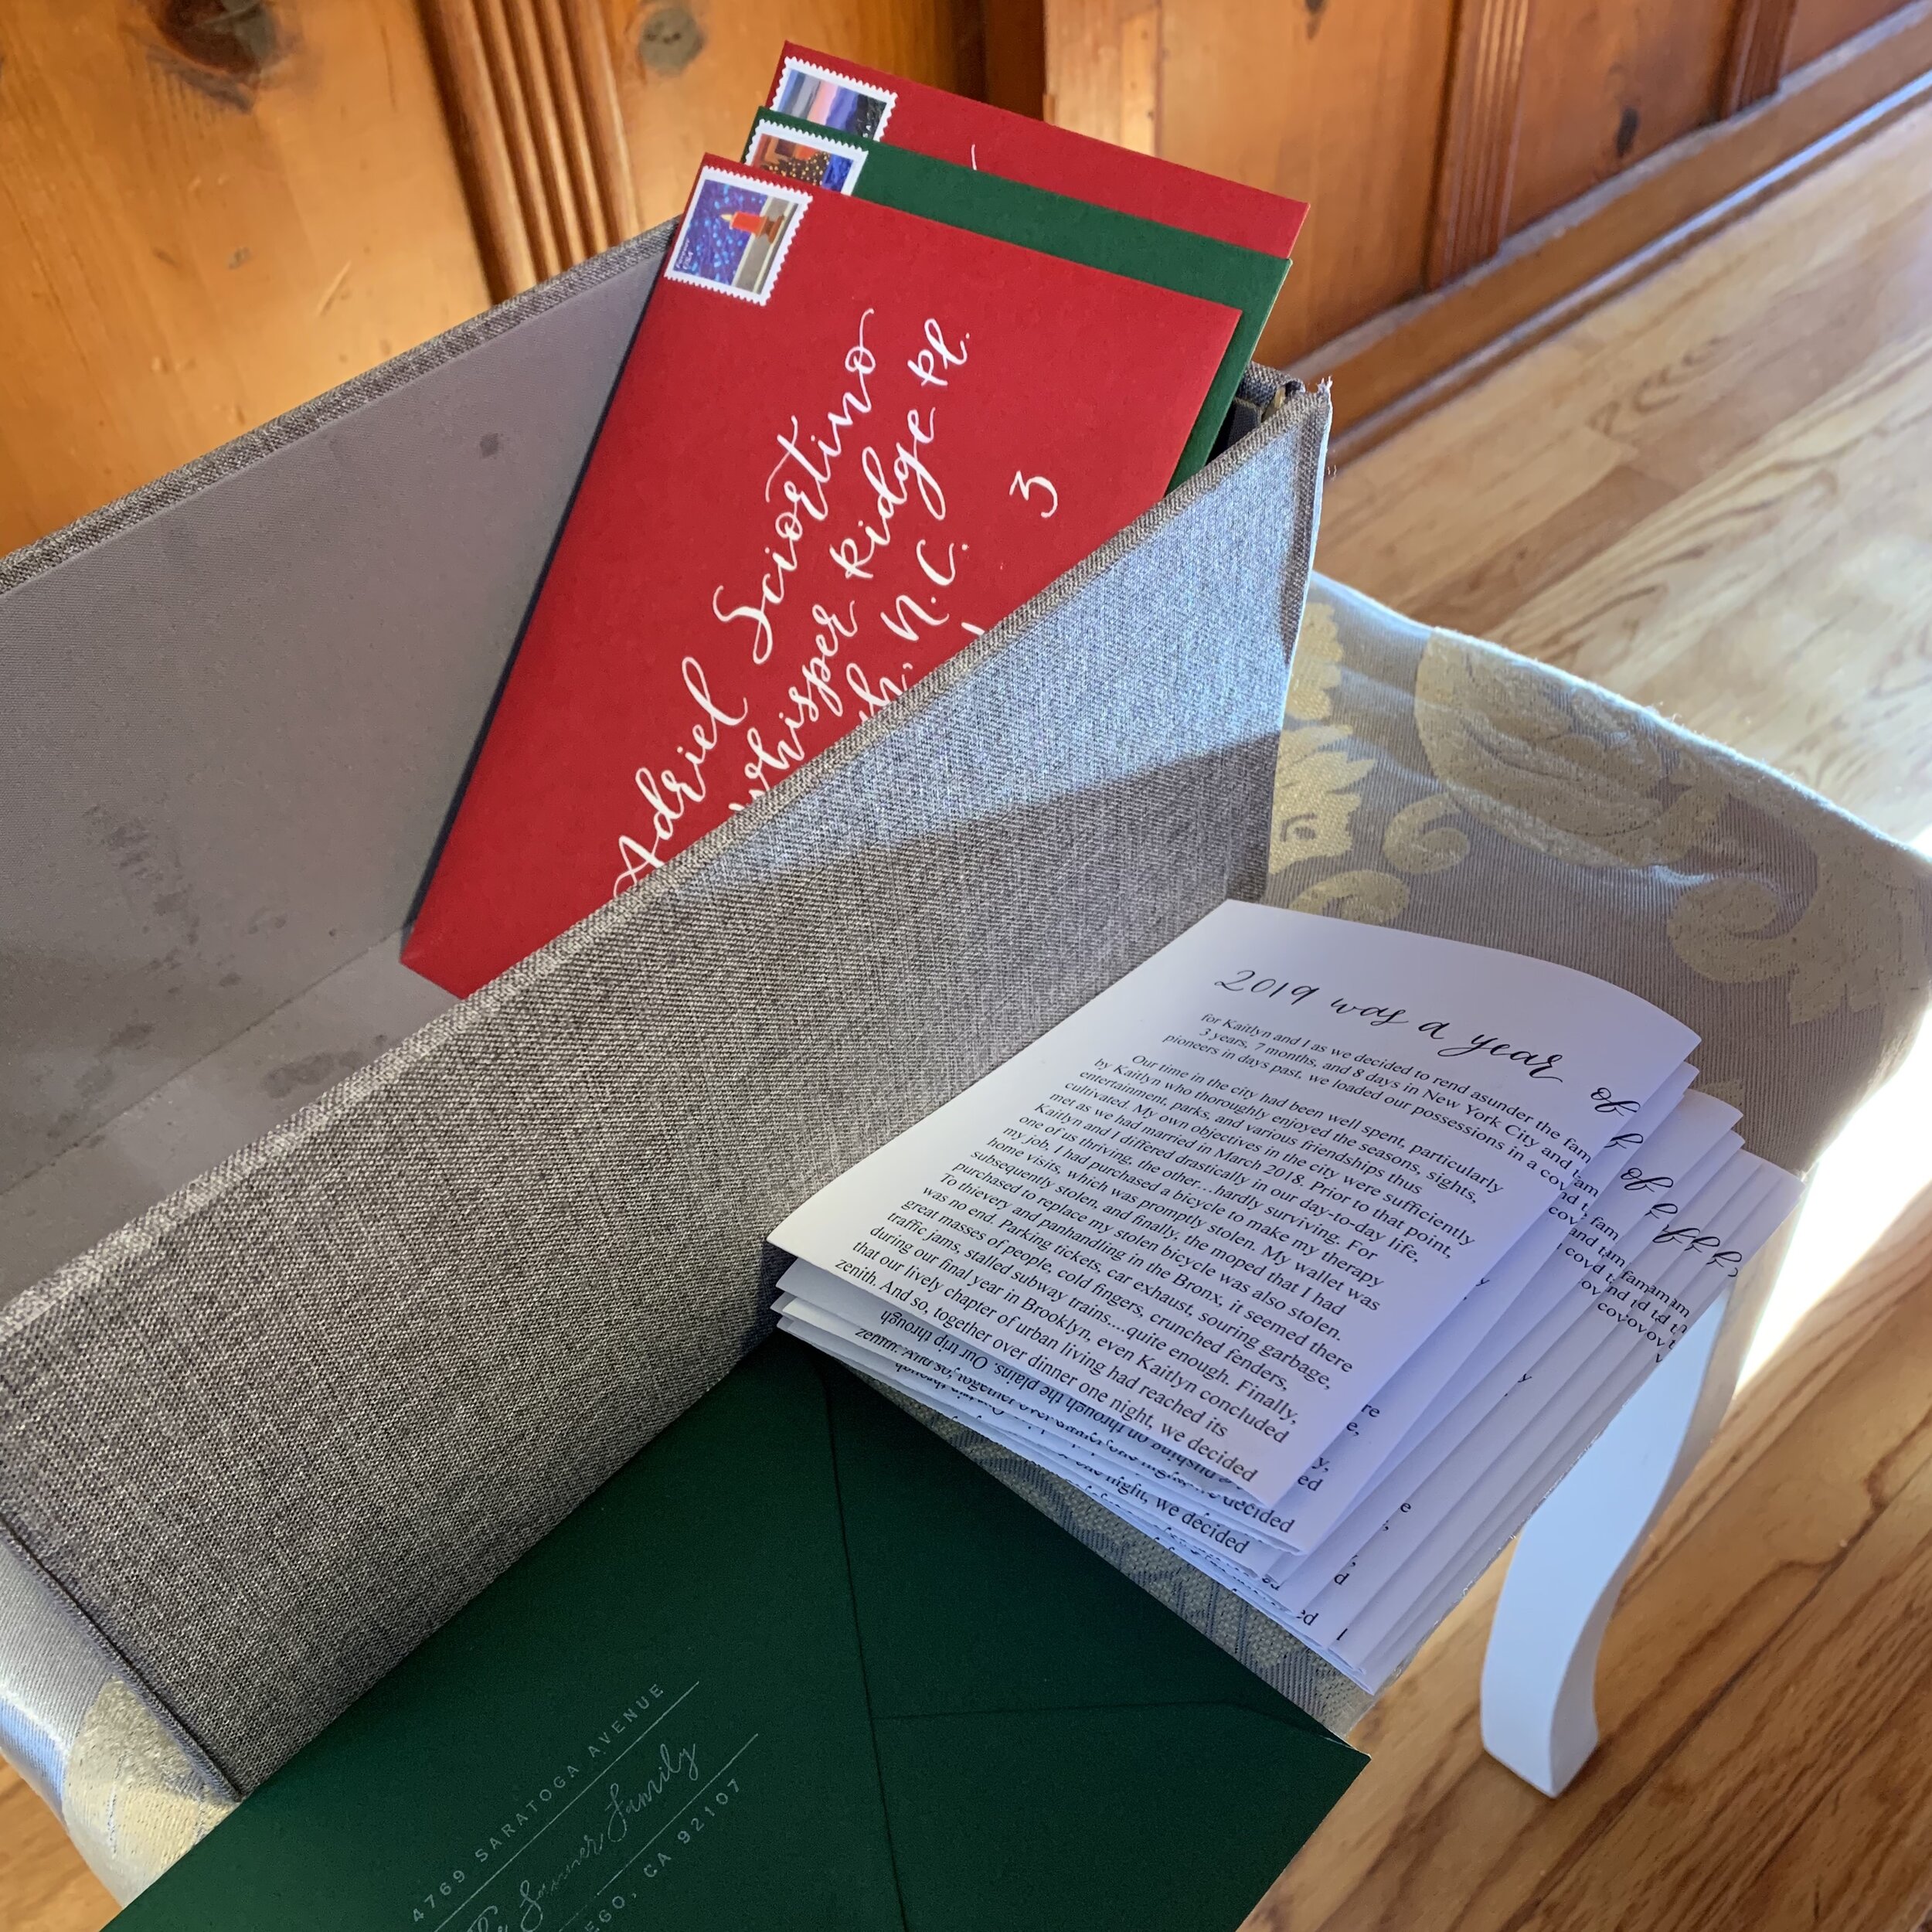
Folding the 8.5x11 letter into fourths to fit into the A7 envelopes
2. stuffing the envelopes

Stuffing all the envelopes with the folded letters and cards
3. adding postage

Themed of course! Christmas and beautiful USA postage as well
4. checking envelopes

Always need to double check all of the envelopes! I spy one Harry Potter stamp for someone - can you spot it?
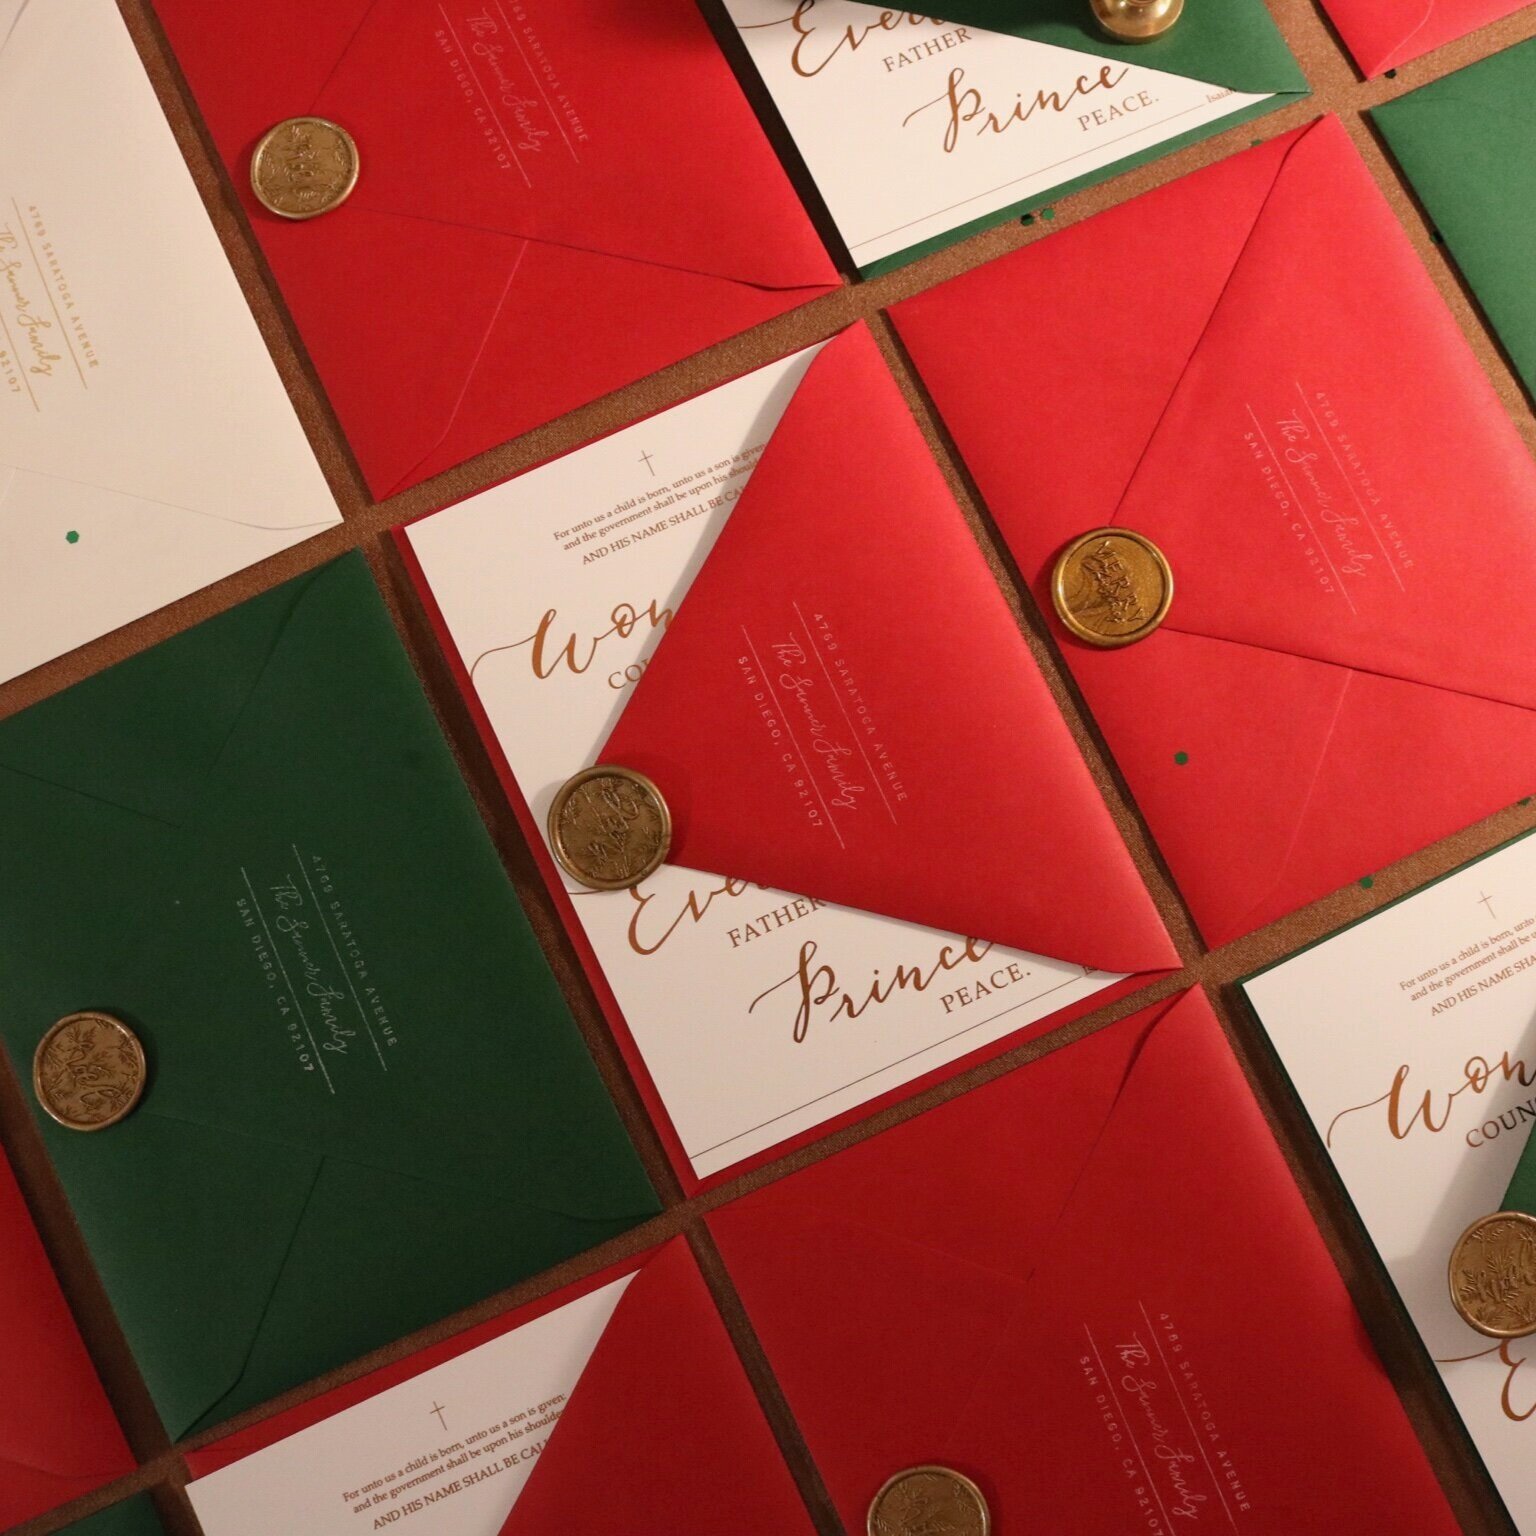
5. adding wax seals

I ordered beautiful gold wax seals - half were “Noel” and half were “Merry Christmas”
6. a little photo shoot :)
Had to take a few photos before I sent them out!
7. Mailing time

About to send them off
8. arrived at your homes

Our card amongst many Christmas cards at my mom’s house. Yes I placed it in that place of honor!
thank you!
Thank you to everyone who messaged me that you received them (and enjoyed receiving it)!
Would love to hear your feedback on this blog post! And if you’d like to receive our card next year - let me know! I wish I had ordered more this year and plan to do it again for 2020 - now that I know what I am doing a little better. I also plan to offer Christmas card designing services this year if you are interested. I know we live in a very digital age but I will always love the look & feel of paper stationery and receiving cards in the mail.
- Kaitlyn Ashlee